Sheet 7
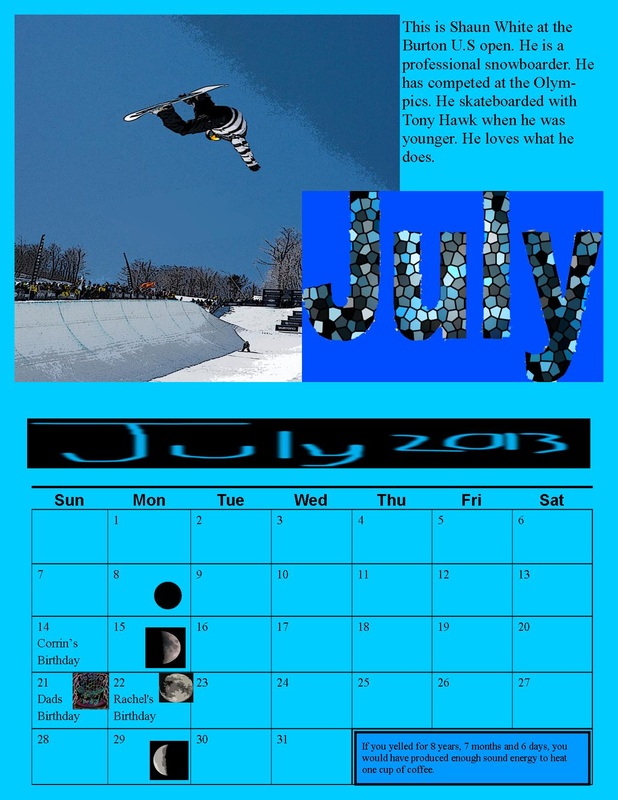
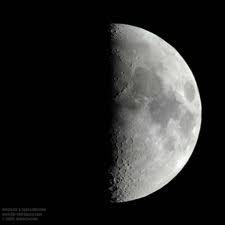
This is a calendar project. I chose the theme of winter sports. We started the project with sheet seven which has the picture and grid for July on one side and the picture for August and the grid for June on the other. For the July side I picked snowboarding for the theme. I chose a picture of Shaun White. To edit the picture I darkened the blue in the corner and covered the powder around him by using the eyedropper tool to match the color of the sky. I also changed the color of the stripes on his jacked from gray to black. I then put in through a filter. For the top part of the calendar along with the picture we needed a paragraph too, it could be about anything. I wrote about the picture of Shaun White at the Burton U.S Open. The bottom half of the page was the actual calendar part. For this I created the July 2013 title in the paint program. I put friends and families birthdays in there and also holidays and the lunar cycle. I edited each moon by itself except the new moon which I created myself. With the extra boxes I removed the lines inside and put in an interesting fact.
|
|
Sheet 6
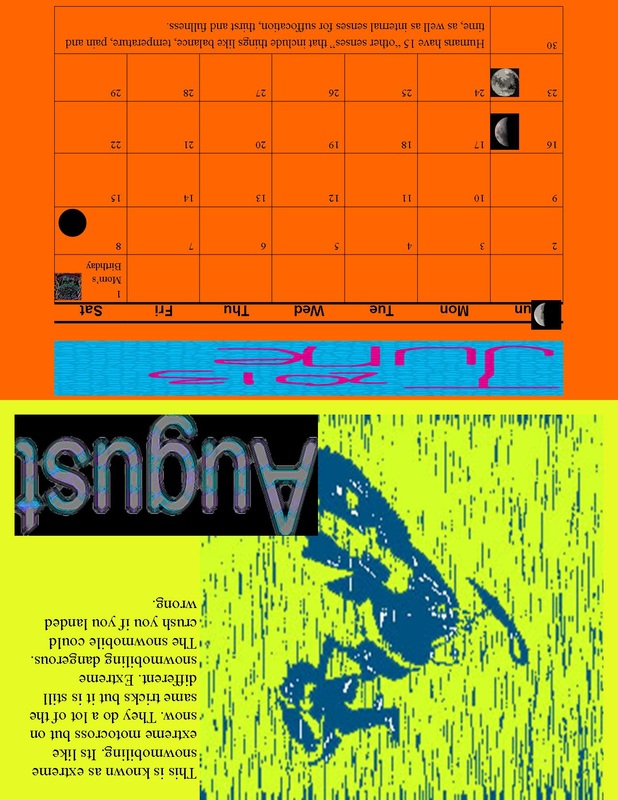
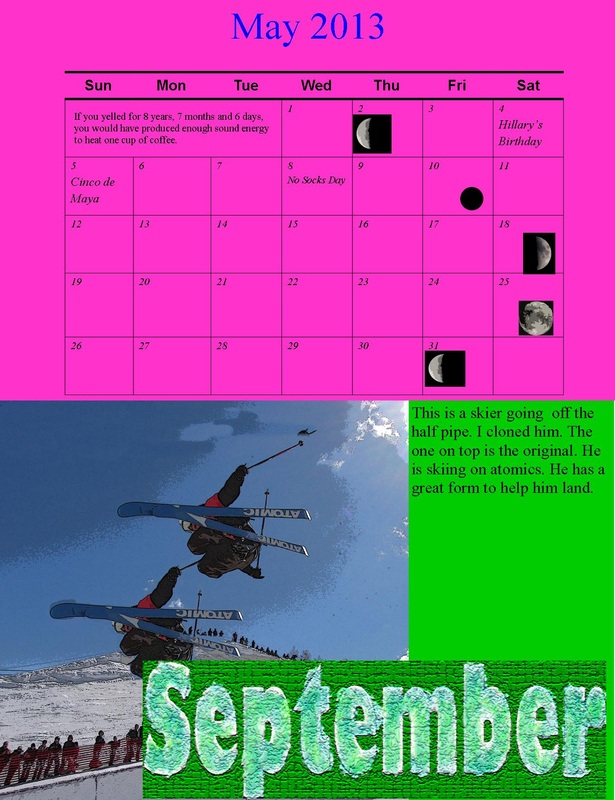
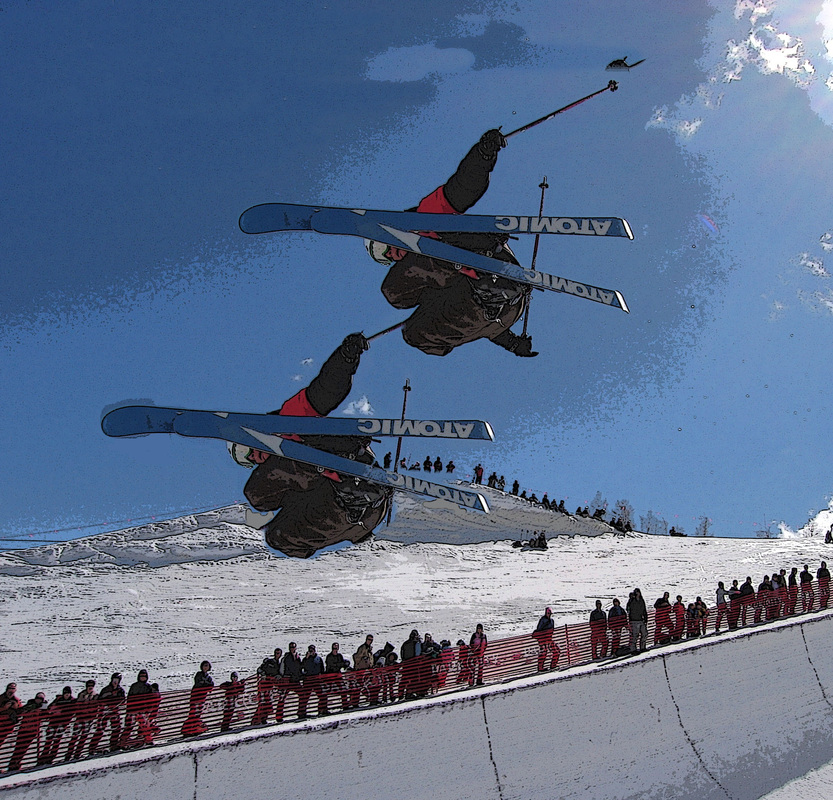
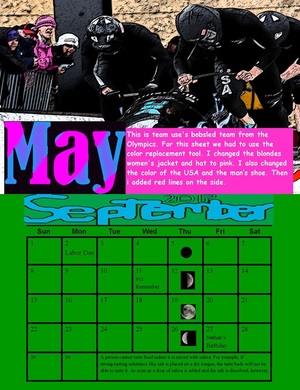
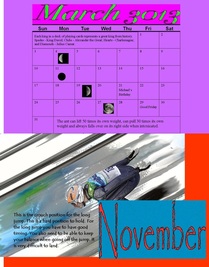
This is Sheet 6 of our calendar projects. Sheet 6 contains the pictures for June and the grind for august, also the grid for May and the pictures for august on the other side. To do this part of the project we need to know which month goes where. To do this we used our organizers. To complete sheet 6 you had to open up a blank publisher sheet and split it in half. So you don’t get confused you could label each half using word art. You then had to decide based on your theme what you wanted the theme to be for September and June to be. Once you did that you could start photo shopping the pictures. Once that was done and you could copy and paste your grids for August with the June picture and the grid for May with September’s picture. For this sheet we had to use the clone tool on one of the pictures. The picture I cloned was a skier doing a trick in the half pipe. The guy on the bottom is the clone. I used this picture for September. With sheet six the pictures no longer match up on one side, but they will when we put the whole calendar.
|
|

Sheet 5
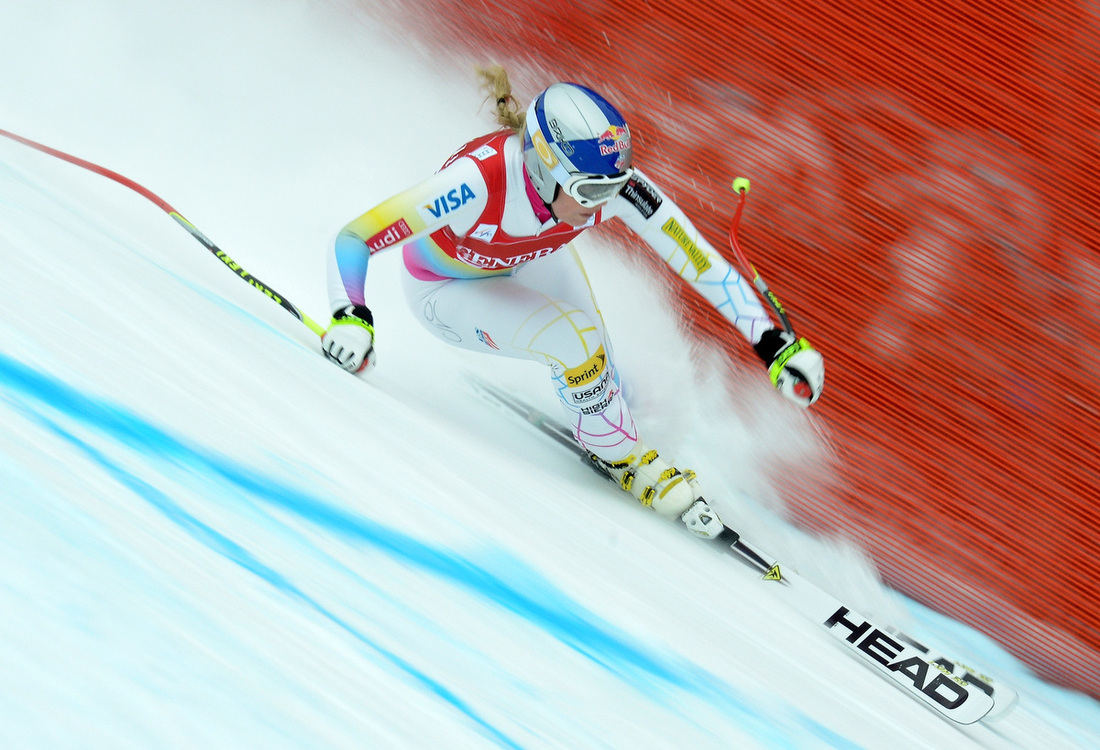
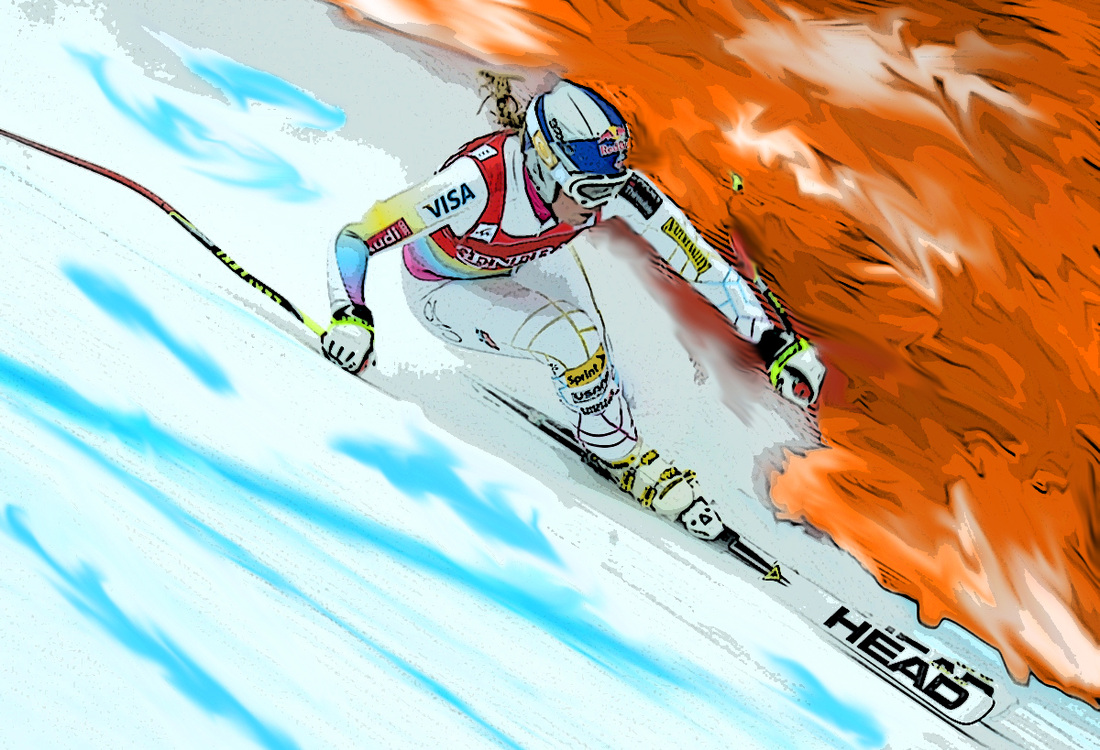
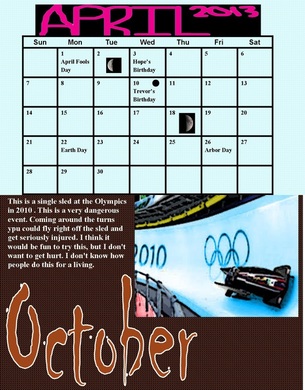
This is sheet 5 for the calendar. For this sheet we used the color replacement tool. This sheet has the picture and grid for September and the grid for April and pictures for October. I changed the color of the women’s jacket from blue to pink, and the USA on the sled from gold to blue. Using the replacement tool was difficult because you need to make sure it doesn’t look fake. For the October side I chose to do the single sled I used the replacement tool on the metal and made it look red. And I changed the surface to blue. When completing this sheet I learned how to make the replacement tool look real. If I redid this sheet I might want to edict my picture for October in a different way.
Sheet 5
|
|
Sheet 4
This is sheet 4. For this sheet we got to do whatever we want as long as it went with our theme. For my first picture I changed the pants from white to red using the color replacement tool. I lightended the color of the sky using the color replacement tool. I used the smudge tool on the ski and then put the whole image through a filter. The second picture is of a skier going off a jump. For this image I added the blue and smudged it into the white and green. I also added black to the back of the skier and smudge that into the then I put the filter plastic wrap on it. On this sheet I learned how to smudge the colors together so it look more like it belongs there. If I were to do this sheet again I would add more to the ski jump skier or maybe change the colors more.
|

|
Sheet 3
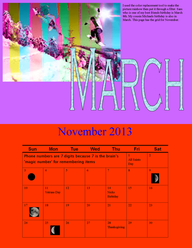
This is sheet 3. For this sheet you had to use half you work. To
do this I chose a picture of a skier that also had a large background. I erased
all around the skier and made the entire background white and drew in stick
figures and a sun as the people watching. For the second picture I used the
color replacement tool and made colored stripes across the whole image and then
put it through a filter. On this sheet I learned how to erase edges better. If I
were to do this sheet again I would make my lines neater.
|
|
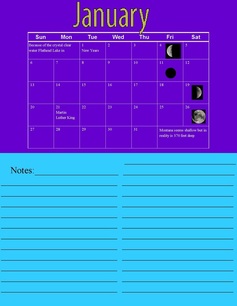
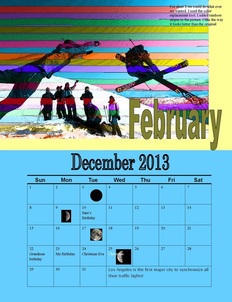
Sheet 2
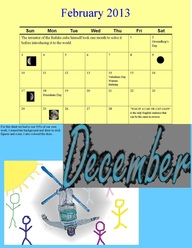
This is sheet two. For this sheet we could do whatever we wanted. This image is for February. I chose a picture of a skier and snowboarder in midair. To change this picture I used the color replacement tool to create horizontal colored stripes across the whole image. On this sheet there is also the grids for December and January. There is also a blank spot. To fill the blank spot I created a notes page. If I were to do this sheet again I would add more to the blank page.
|
|
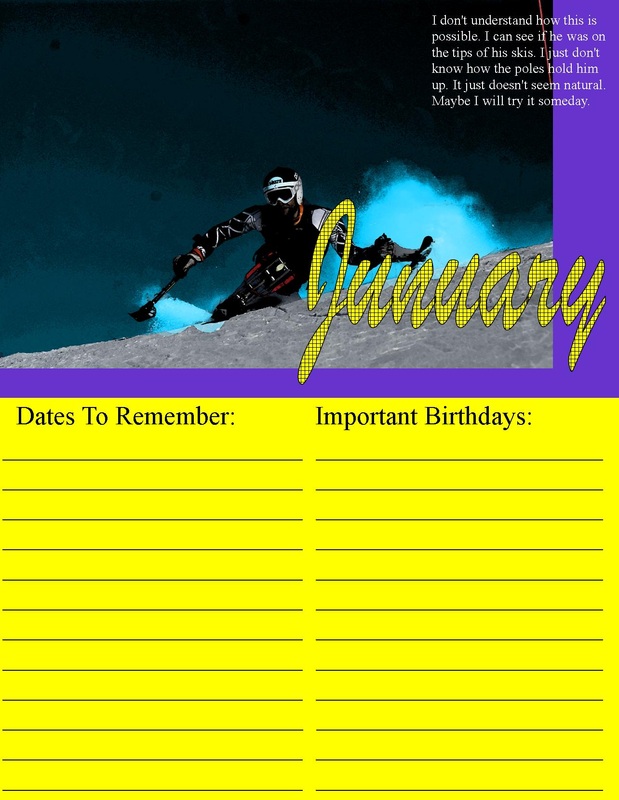
Sheet 1
This is sheet 1. This sheet has the front cover, back cover, the
picture for January, and a blank page. For my front cover I chose a picture of a
mountain.
picture for January, and a blank page. For my front cover I chose a picture of a
mountain.
|
|
